The Most Simple Gingham Quilt Pattern for Beginner Quilters
I don’t know about you, but when I go to a fabric store, my eyes are immediately drawn to the classic gingham print. Gingham has an instant cozy, warm vibe, which makes it the perfect pairing for a quilt. That’s why I came up with my free gingham quilt pattern, and I’m super excited to share it with you today!

History of the Gingham Pattern
Before we jump into the tutorial and gingham quilt pattern, let’s discuss briefly the interesting history of the gingham pattern. It’s quite fascinating how this pattern became a staple of Americana design.
It’s hard to think of the early to mid-20th century without thinking of the classic gingham print being used for clothing, curtains, tablecloths, and other home decor. But what if I were to tell you gingham has been around for much longer than a century?
Surprisingly, gingham has been around since the 17th century and originated in Malaysia, Indonesia, and India. It’s hard to say which country created it first, but it is well-documented that this print was prevalent in all three countries during the 1600s.
These fabrics started to be imported to Europe in the 18th century and have been in constant use ever since. Pretty cool, right? I love learning the history of specific fabric prints and patterns.
Step-by-Step Tutorial: How to Make a Gingham Quilt
UPDATE: I came up with a “brand new” Gingham quilt pattern that I am offering for free to my Email subscribers! I’ve named it the “Gingham Square Dance”, and it is a fantastic beginner friendly quilt pattern that you can make in just a few hours! Click the button below to subscribe to my newsletter and get the FREE “Gingham Square Dance” pattern.
Gingham quilts are a super fun quilt project you can make over a weekend. This gingham quilt tutorial is perfect for beginners, and I encourage every quilter to make at least one because they’re cozy and look beautiful no matter what your personal style is.
Tools You Will Need
Fabric Requirements
It’s best to choose three fabrics that coordinate from dark to light. Below you will find the necessary fabric requirements for this quilt top.
- Dark Fabric: 1 ¼ yards
- Medium Fabric: 2 ¼ yards
- Light Fabric: 1 yard
Step One: Cut the Squares
For this free gingham quilt pattern, we will make a 67 ½” x 76 ½” quilt top. Solids work great for gingham quilts, but you can also use print fabrics for an added design element.
You will need to cut the following 5” squares from each fabric (you can also use charm pack squares to save time):
- Dark Fabric: 72- 5” squares
- Medium Fabric: 127- 5” squares
- Light Fabric: 56- 5” squares
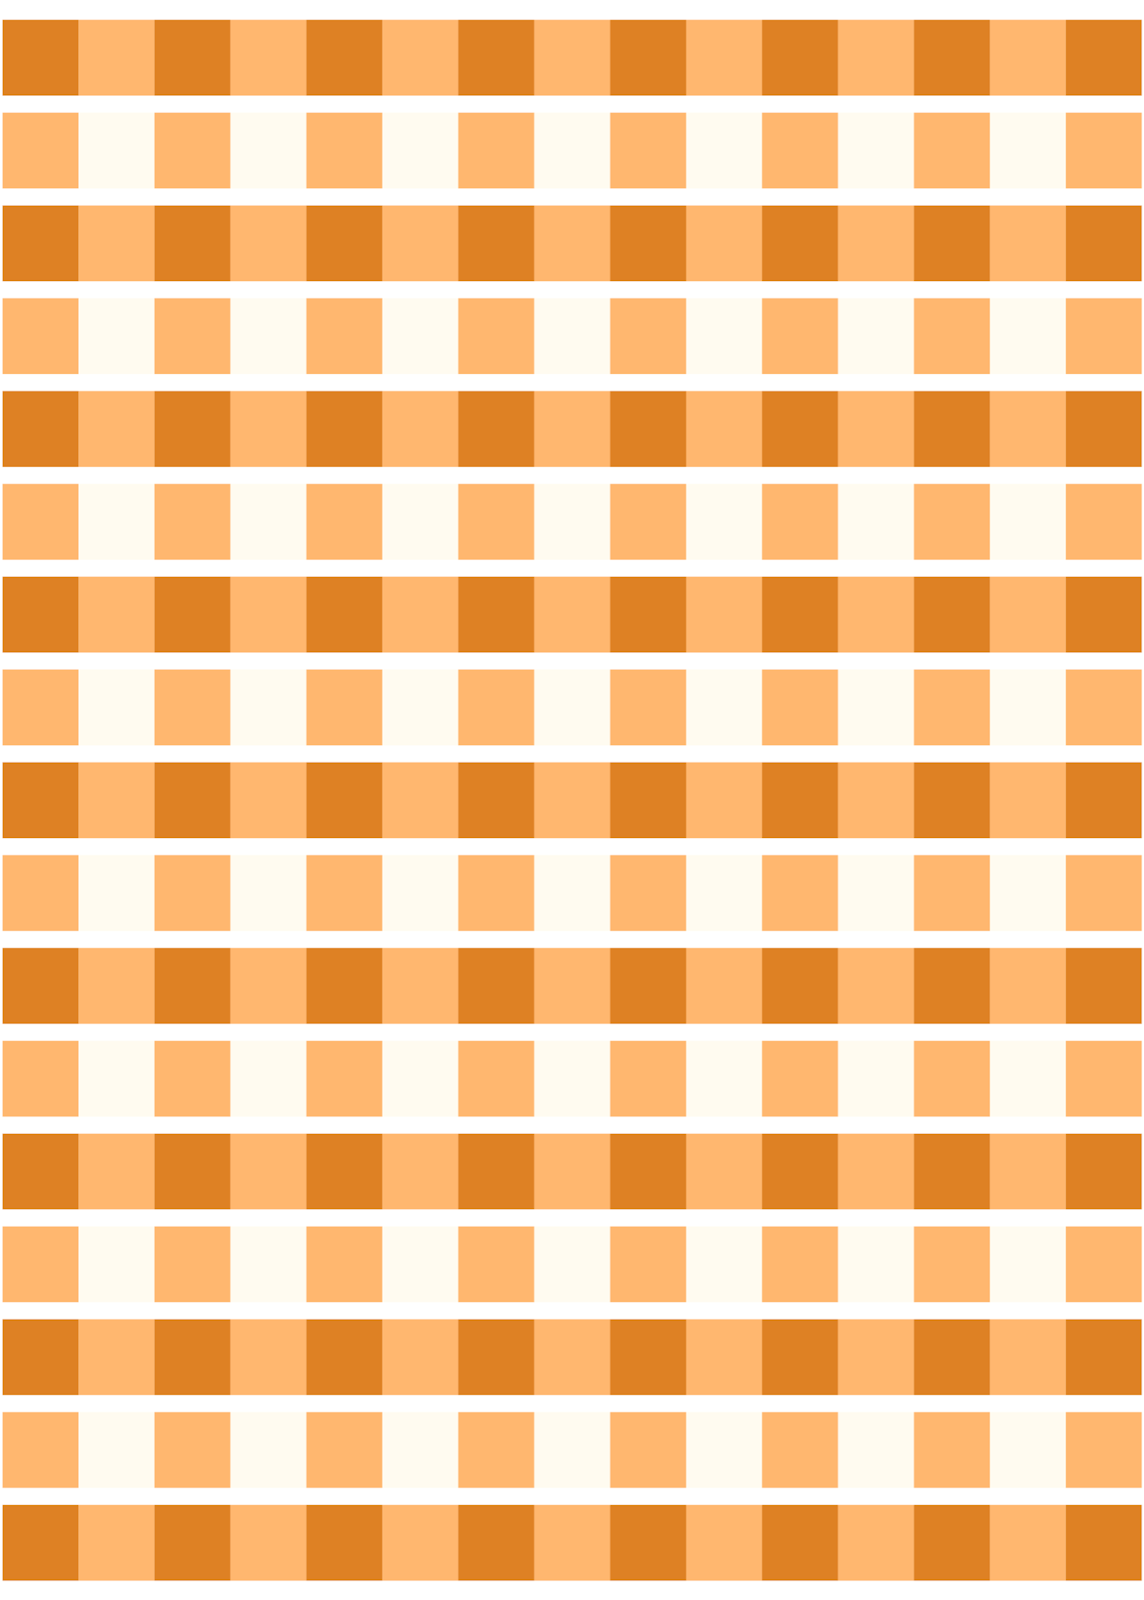
Step Two: Create the Square Layout in the Gingham Pattern
Once you have all of your 5” squares cut, you will want to lay out the squares to create the gingham quilt pattern. This will help you visualize the quilt top.

Now you can easily stack the squares in order for easy sewing. Grab the first square in each row and place it on top of the second square.
Next, place the tiny stacks on the third square of each row.
Repeat this process till you have 17 stacks of squares.

Step Three: Sew the Squares Into Rows
Now comes the fun part: sewing! Take the first stack of squares and sew them together using a ¼” seam allowance.

Each row will have 15 squares. Repeat this process until you have 17 rows.
Step Four: Press the Seams
I know, I know. Pressing seams isn’t the most fun step, but it can make a big difference in how the overall gingham quilt will look at the end. The trick is to press the seams in opposite directions with every other row. Refer to the diagram below.
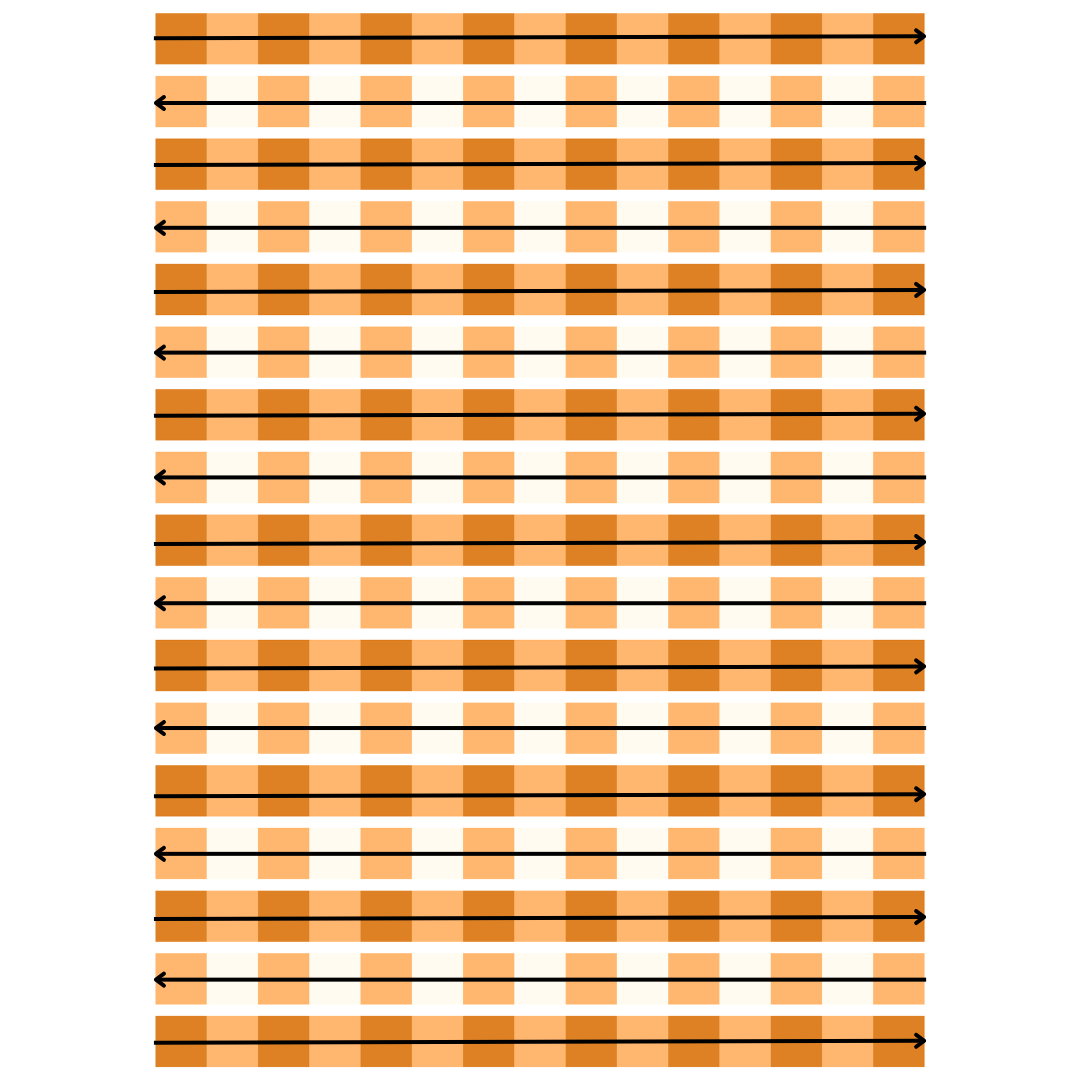
When you press the seams this way, you will do what is called “nesting the seams,” which allows the seams to lay as flat as possible.
Step Five: Sew the Rows Together
Sew the rows together, making sure you line up the seams. You will use a ¼” seam allowance for this step as well.

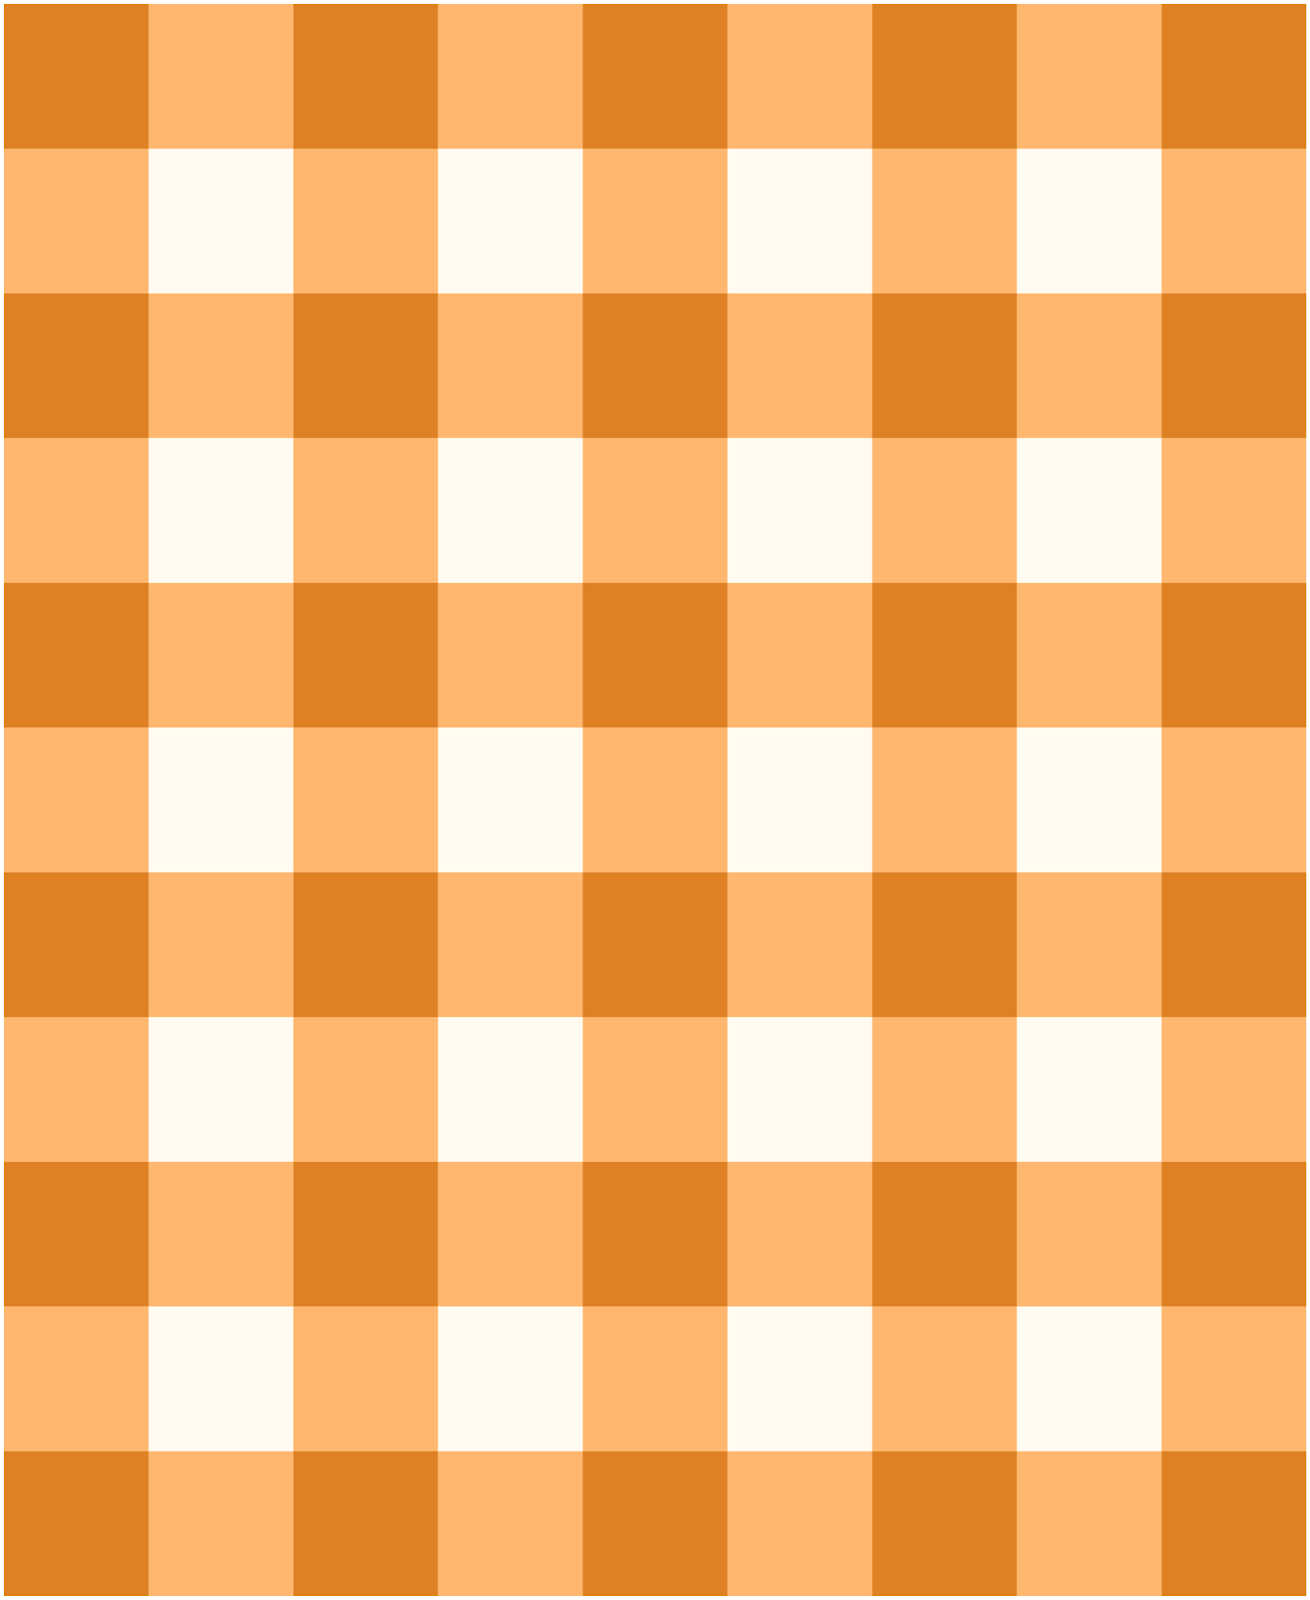
And there we have it, a beautiful, timeless gingham quilt pattern! Gingham quilts look fabulous in any color and any size. They make wonderful baby quilts too!
Baby Gingham Quilt
To make a 40 ½” x 49 ½” baby gingham quilt, you will need to cut the following squares.
- Dark Fabric: 30- 5” squares
- Medium Fabric: 49- 5” squares
- Light Fabric: 20- 5” squares
Final Thoughts
I hope you enjoy this gingham quilt pattern and you have lots of fun creating a gingham quilt for someone you love. This is a fantastic beginner-friendly quilt project that you could easily make over the weekend.
Thank you for stopping by, and happy stitches!


Hi
Watch u on u tube but can’t comment,hope u don’t me asking on the gighan dance quick if u want to make a little longer then 60x 60 thanks Suzanne
Hi Suzanne! You could add borders to make the quilt a bit larger, or create more strip sets to make larger sections. I hope that helps! Feel free to message with more questions!
Thank you for sharing this. This is definitely going down as my next project.